Trezor.io/start Login Guide: Securely Access Your Crypto Wallet
In today’s digital age, managing your cryptocurrency securely is more important than ever. Trezor, one of the leading hardware wallets in the crypto space, offers a robust platform for safely storing and managing digital assets. If you are new to Trezor or looking to log in to your account, this guide will walk you through Trezor.io/start login step by step.
What is Trezor?
Trezor is a hardware wallet designed to provide maximum security for your cryptocurrency. Unlike software wallets, Trezor stores your private keys offline, making it immune to hacks, malware, and phishing attacks. With Trezor, you can safely send, receive, and manage your crypto assets like Bitcoin, Ethereum, and other altcoins.
Why Use Trezor.io/start?
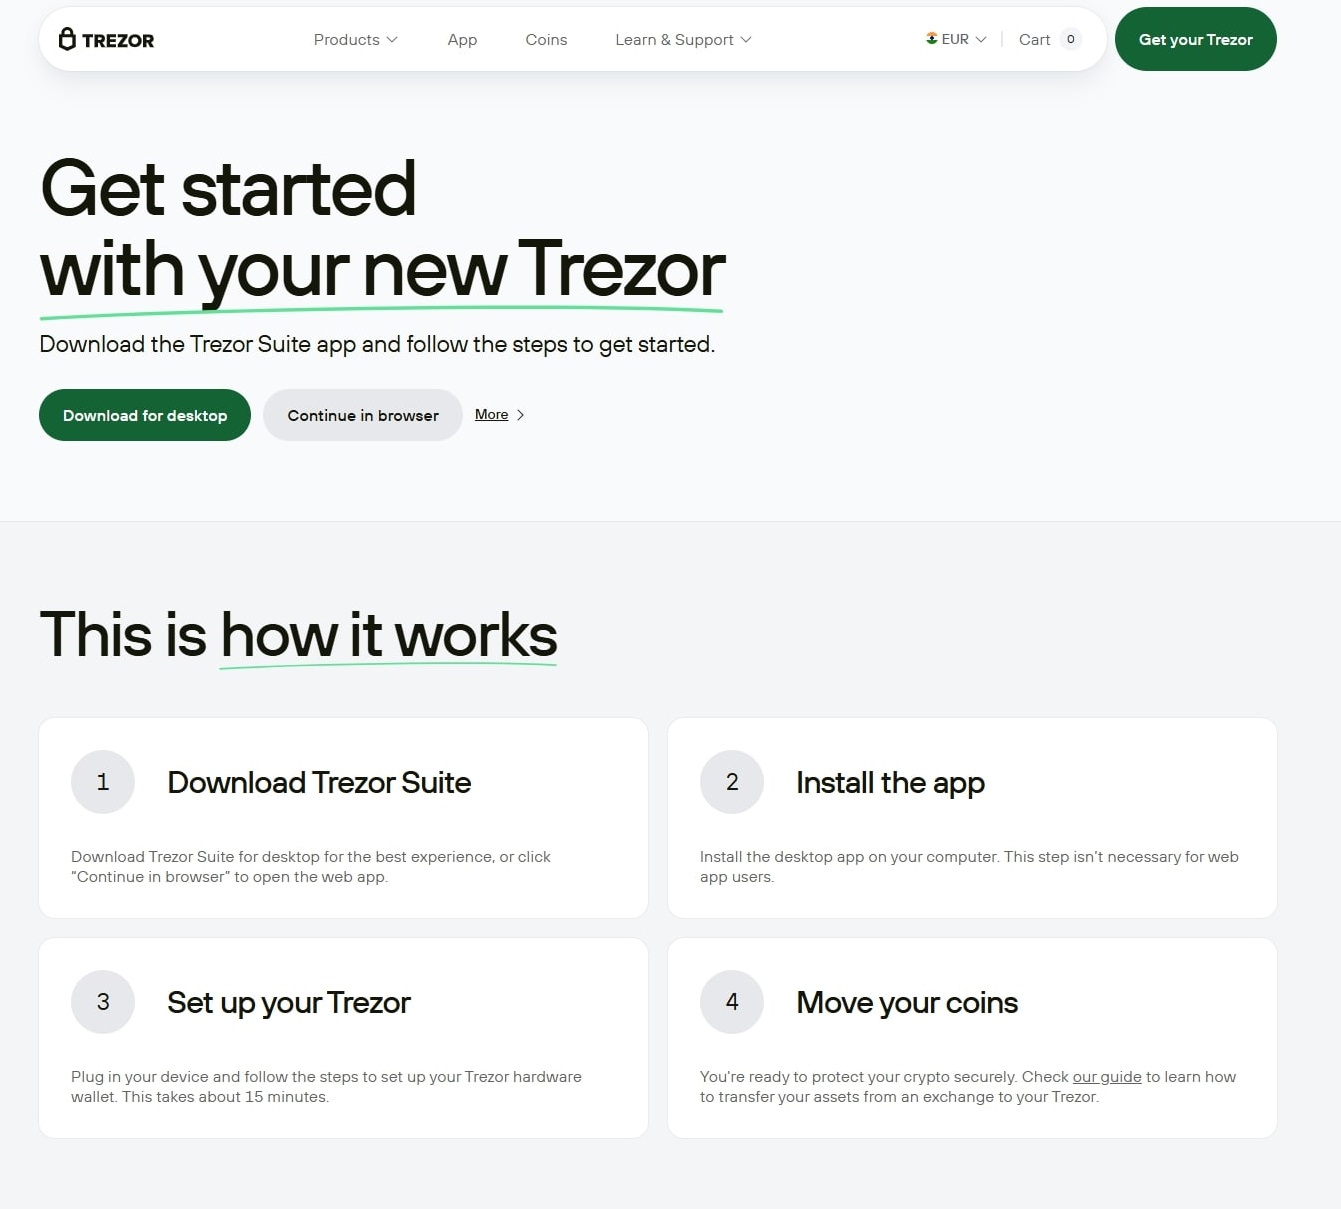
Trezor.io/start is the official starting point for setting up and accessing your Trezor wallet. From this page, users can initialize their device, install the Trezor Suite software, and manage their assets seamlessly. The platform prioritizes user security, offering encrypted connections and strict authentication protocols to ensure your crypto remains safe.
Step-by-Step Guide to Trezor.io/start Login
Logging into Trezor may seem intimidating at first, but it’s a straightforward process. Follow these steps to get started:
Step 1: Visit the Official Website
Open your preferred web browser and go to Trezor.io/start. Always make sure you are visiting the official site to avoid phishing scams. Look for the secure HTTPS connection and the correct domain.
Step 2: Connect Your Trezor Device
Plug your Trezor hardware wallet into your computer via USB. For some devices, you may need a USB-C adapter depending on your device model and computer compatibility. Once connected, your device will light up, indicating it’s ready for setup or login.
Step 3: Install Trezor Suite
If you haven’t installed the Trezor Suite, the website will prompt you to download it. Trezor Suite is the official app for managing your wallet. It’s available for Windows, macOS, Linux, and even mobile platforms. Follow the on-screen instructions to install the application.
Step 4: Enter Your PIN
After opening the Trezor Suite, the device will ask for your PIN. This PIN is unique to your device and ensures only you can access your wallet. Enter it carefully on your Trezor device. Remember, the PIN is entered on the device itself, not your computer, adding an extra layer of security.
Step 5: Access Your Wallet
Once your PIN is verified, you will have access to your Trezor wallet via Trezor Suite. From here, you can check your balances, send and receive crypto, and view transaction history. Trezor also allows you to integrate with third-party services like exchanges, ensuring smooth transactions while maintaining security.
Step 6: Backup Your Recovery Seed
If this is your first login, Trezor will guide you to create a recovery seed. This seed is a series of words that act as a backup for your wallet. Store it safely offline. Never share it with anyone—losing your seed can result in permanent loss of your assets.
Tips for a Secure Login
Always use the official site – Avoid clicking on links in emails or ads.
Keep your PIN private – Never store it digitally.
Regularly update Trezor Suite – Updates often include security improvements.
Use passphrase protection – Adds an extra layer of security to your wallet.
Avoid public Wi-Fi – Access your wallet from secure networks only.
Conclusion
Trezor.io/start login is the gateway to managing your cryptocurrency safely and efficiently. By following the steps outlined above, you can ensure a secure setup and easy access to your assets. Whether you are a beginner or an experienced crypto investor, Trezor offers peace of mind with its state-of-the-art security features.